How to install mod and custom content in The Sims 2
In this guide, I will show you how to install Mods and Custom Content in The Sims 2. Mods can be used to improve your game experience, fixing bug, and many other functions. Custom Content is, as the name implies, it is a custom object/outfits for your sims.
Prerequisites
Before you begun to mod the game, make sure to backup your save games in your Documents folder. This is absolutely necessary because if something goes wrong, you could just restore the backup then your game will be fine! To backup your games, copy The Sims 2 folder in C:\Users(your name)\Documents\EA Games to your desktop.
Custom content are abbreviated as CC, and The Sims 2 is abbreviated as TS2. This abbreviations will be used throughout the guide, so please remember it.
Find and download mods/CC
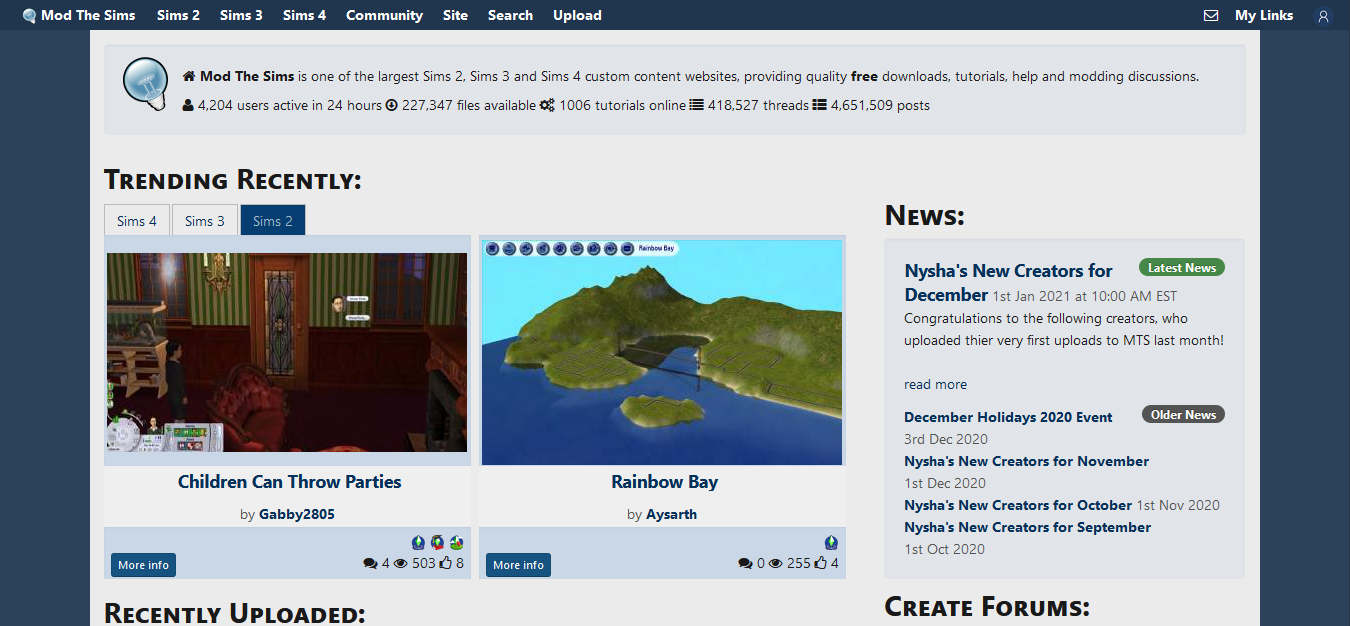
First, find the mods or custom content you want. There are many websites for finding mods, one of them is Mod The Sims. Not only providing mods for The Sims 2, here you can also find for TS3 and TS4 Mods. Another site worth to look at is The Sims Resources, which hosted over 1M custom content for TS2, TS3, and TS4.
This guide will use Mod The Sims, because it has the best interface IMO.
When you're going to MTS homepage, you will be greeted by showcase of mods. Press Sims 2 > Downloads at the toolbar of the website. The interface of the website may confuse you, but after a while, you will get used to it.
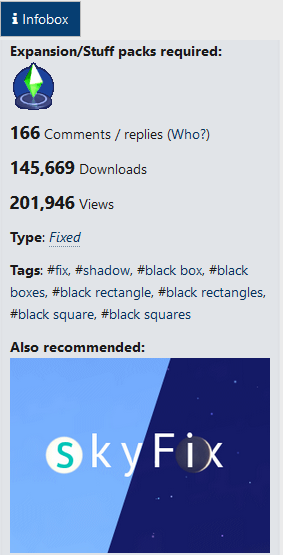
After choosing the mod that you wanted to download, click on it, and now you can read information about this mod. The first thing you must do is check for the Expansion and Stuff packs required. If you don’t have the specific EP/SP, then don’t install the mods, because it would throw errors. Also, sometimes the creator gives you another mod that is recommended to add.
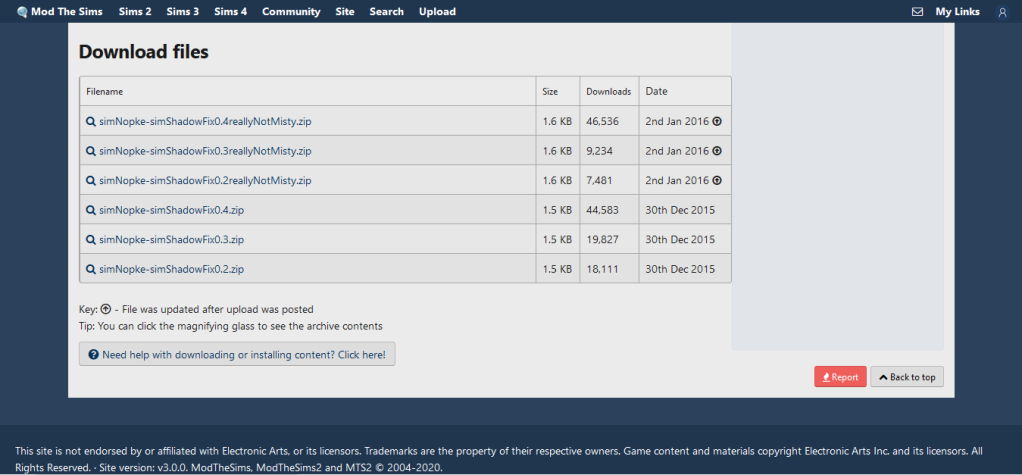
There is also a “Comments” section. In this section, you can ask everything about the mod with the original creator. After that, go to the “Files” section. Here you can download the mod itself. Be aware that there may be a different version of the mod, so make sure you already read the description of the mod!
Install the Mods/CC
Make TS2 Mods folder
After downloading mod/cc, usually, the files go into the Downloads folder. Make a new folder in your drive specifically for The Sims 2 Mods. You can directly put mods in there, but after you adding more & more mods it will become cluttered. I recommend you to organizing mod by creating folder to splitting mods by type, like this:
- Standard Mod
- Custom Content
- Tools and custom world

Sort your mod and cc into that folder. Also, extract the mod with 7-zip or Winrar by right click at the mod > select extract to… > press “OK”. If you don’t have that software, get it for free on this page. Your folder will look like this:

Installing process
Now open C:\Users(your name)\Documents\EA Games\The Sims 2. Make a new folder called “Downloads” so The Sims 2 folder will look like this:
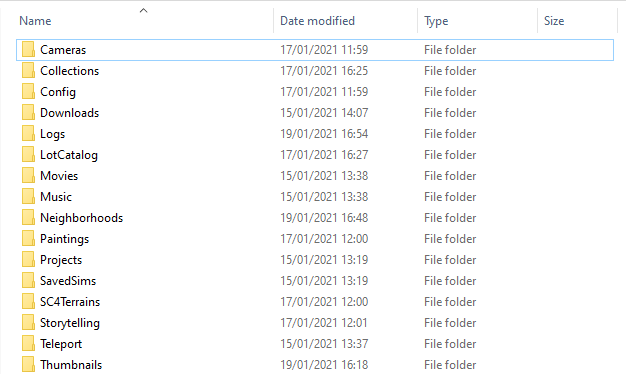
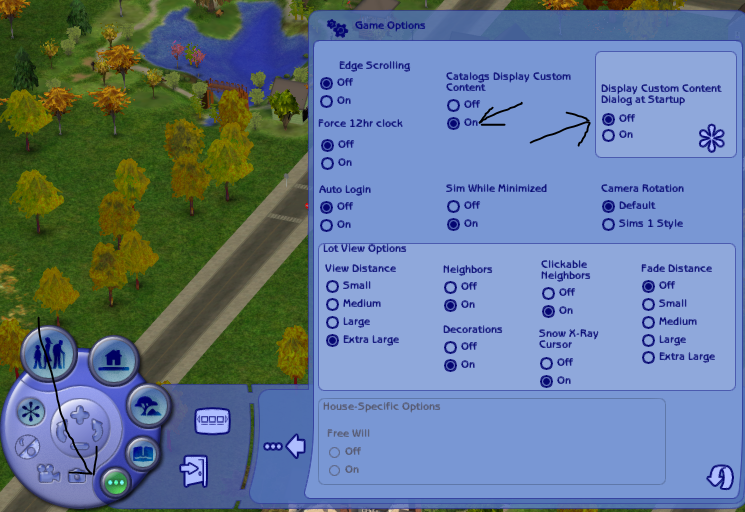
Paste your mod in the “Downloads” folder. Go back to The Sims 2 folder, delete all .caches files available there. Launch your games. You will see a dialog contains all of your mod installed. Check the “Enable Custom Content” option, then click the checkmark button. Go to a random neighborhood (e.g Pleasantview). Then follow the image instructions below: